Part 1:Making of Wine Glass
In this tutorial, we will learn how to make Fluid Effects using Blender 2.49.
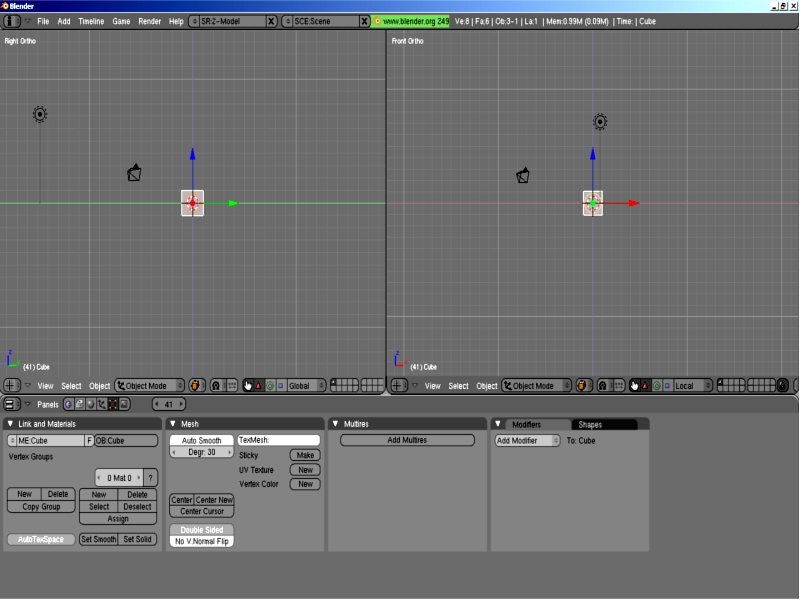
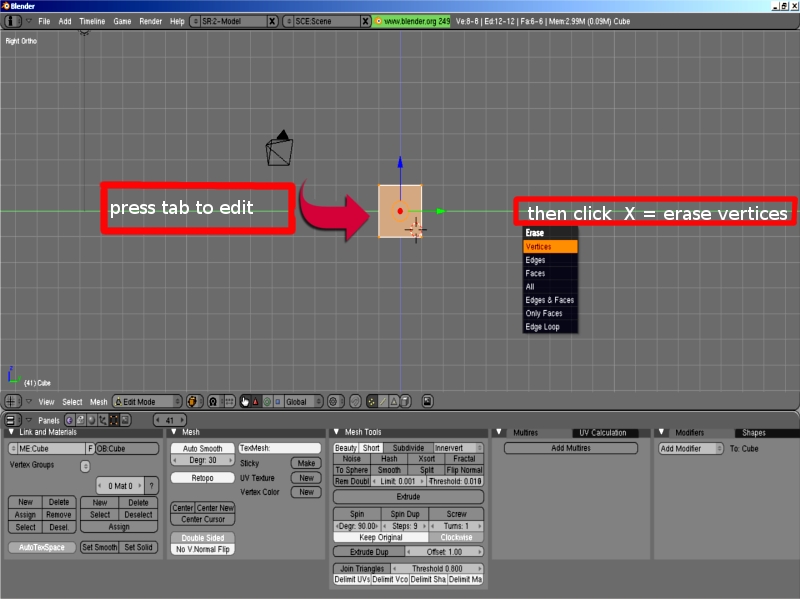
Open Blender. Select the default Cube and press Tab to change object mode to edit mode.
In the edit mode, press A to select all the vertices of the cube. On pressing Del key or X key, the Erase window will pop up with a drop down list, showing – Vertices, Edges, Faces, All, etc., Now, select the vertices and delete them
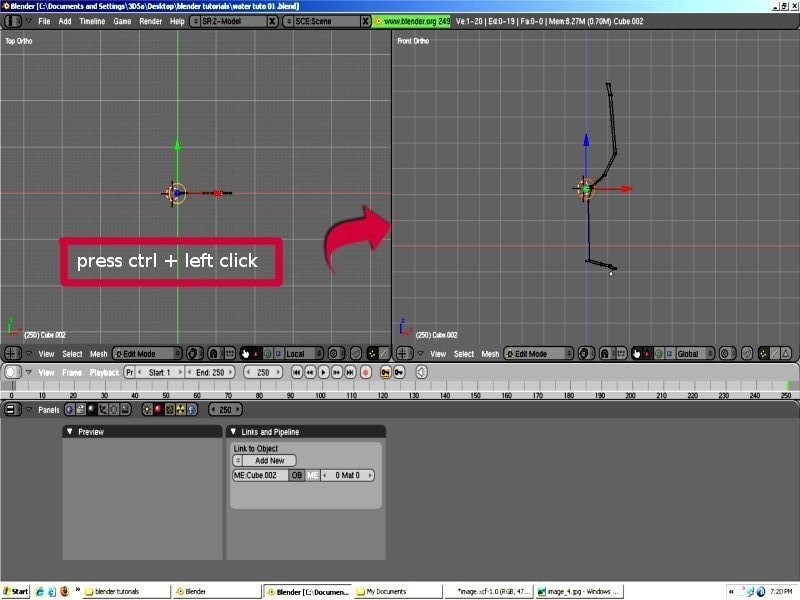
Now, press the Ctrl key and Left click the mouse button (Ctrl + Left Mouse Button) to draw the shape using vertices as shown in the image below.
Note: The vertices should be drawn only in the front view.
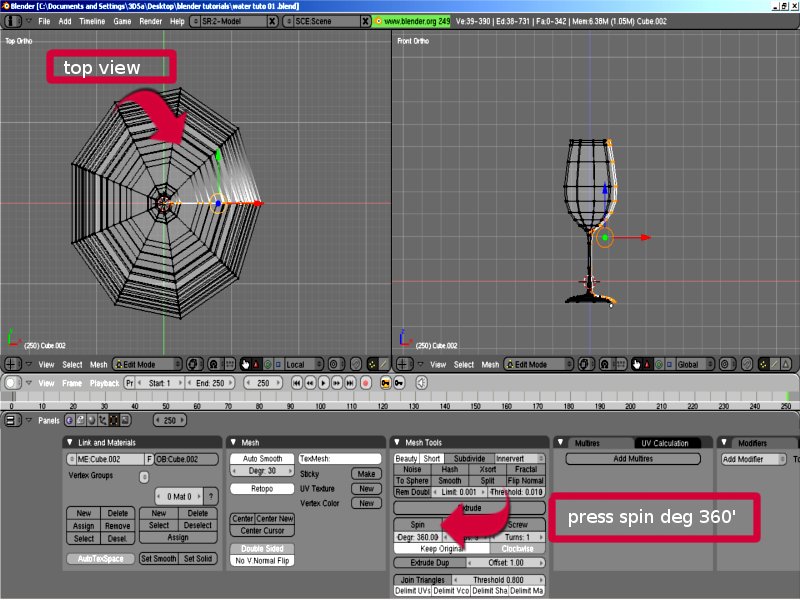
After creating the shape, press F9 key to change the material panel to editing panel. Now, press 7 to change the view of the object to top view. Then, go to the editing panel and change the degree value to 360°. It is located under the Spin button. Once the degree value is changed, press the Spin button – a Question mark will appear. Now, click on the top view of the object to get the wine glass model.
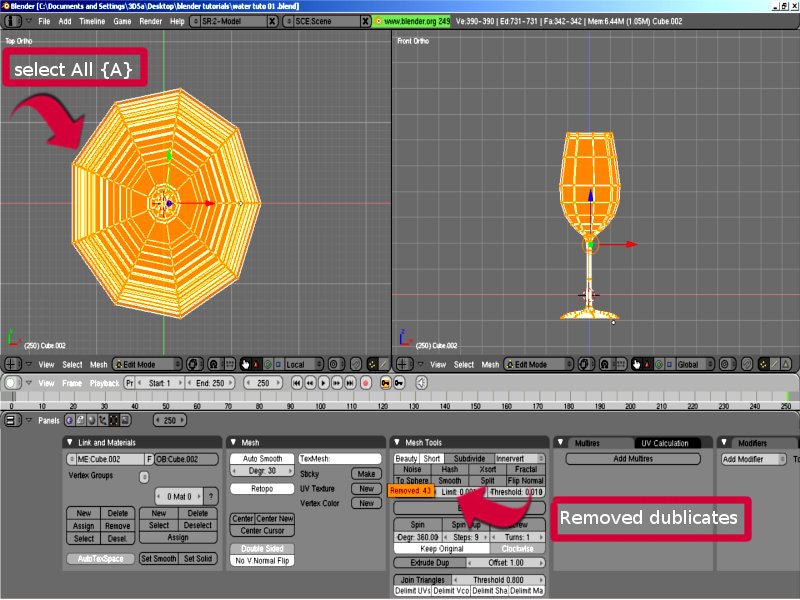
Select all the vertices by pressing A . Then, go to MeshTools in the Editing panel and press the Remove Doubles button. This will remove all the duplicate vertices from the mesh.
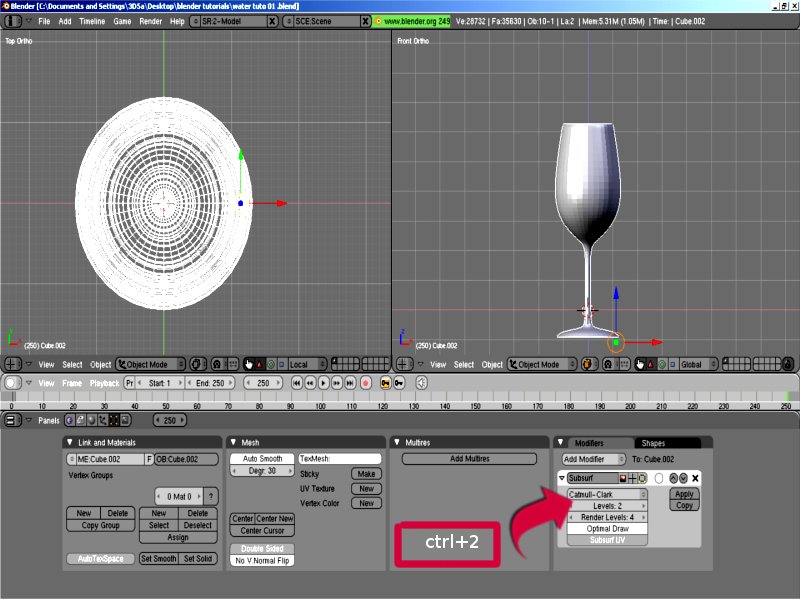
Now add a Sub Surf Modifier from the modifier panel and select Cat Mull-Clark from the drop-down list. Next, change the parameter to level 2 and render to level 4. This will make the mesh smooth and refined.
Part 2: Creating the set up for fluid simulation.
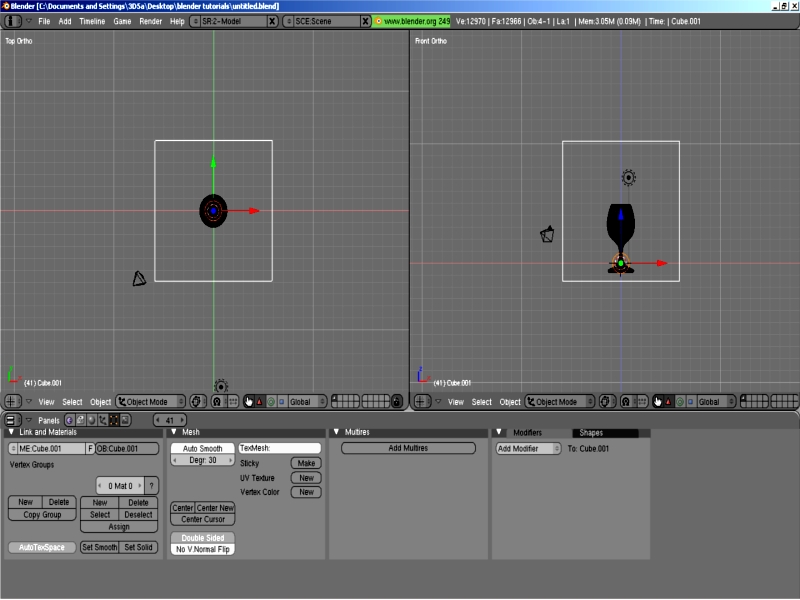
Create a cube and place the wine glass model in center of the cube as shown in the image below.
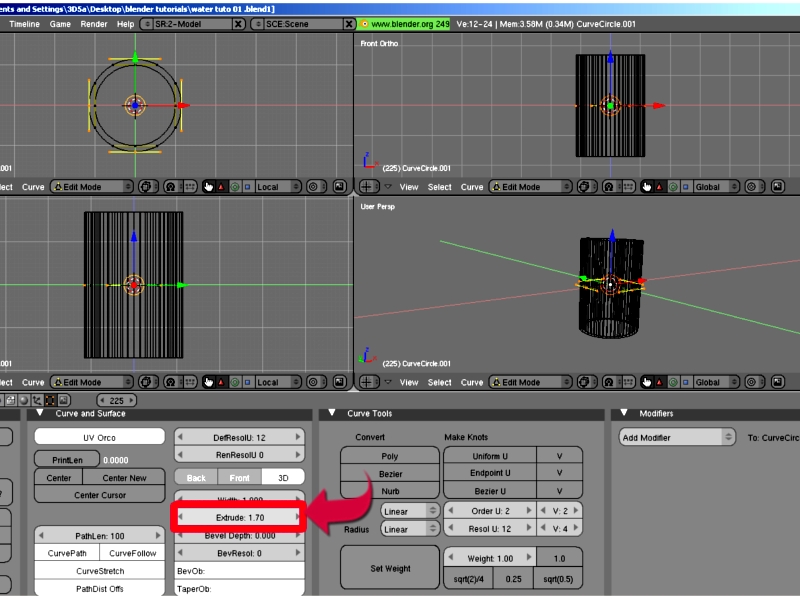
Now, create cylinder using the curves. Duplicate the curve in edit mode and scale it down to the mid-point of the main curve. Then, extrude and set the position comfortably for the water to flow through it. Press Alt + C to convert the curves to mesh.
Note: Fluidsim can be activated on mesh only.
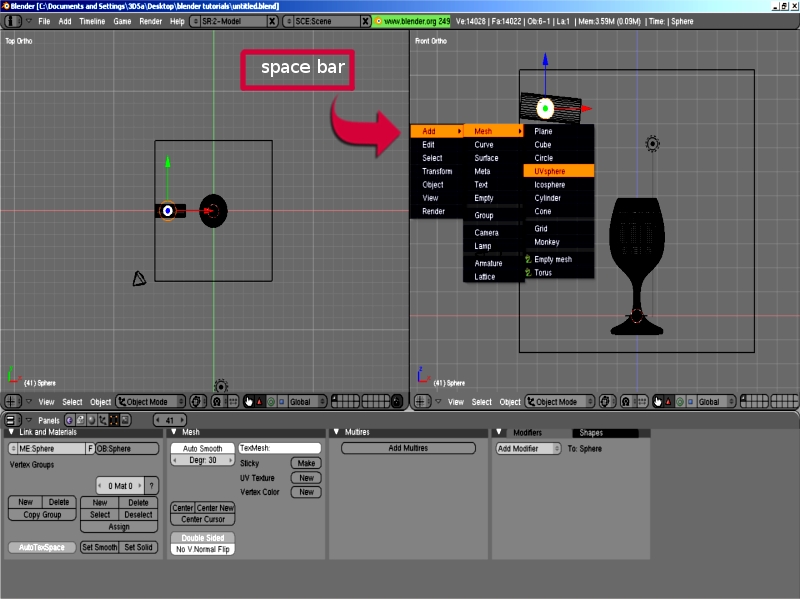
Then, create a UV sphere and place it as shown in the image below.
Now all the required objects are placed for stimulation. By pressing F7 twice, the panel window will change to Physics Buttons window. Here, go to the Fluids Menu and define:
– the external cube as Domain,
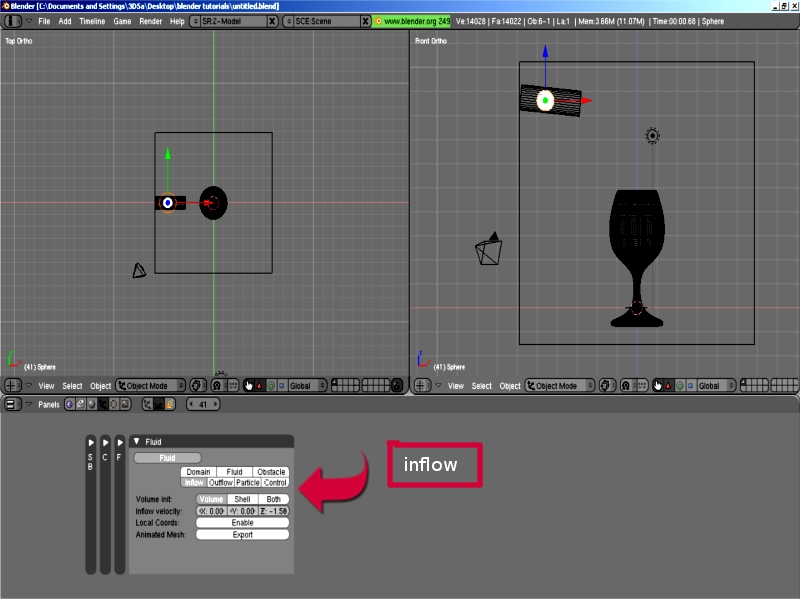
– the sphere as Inflow,
UV sphere        : Inflow
Volume int       : volume
Inflow velocity  : X=0,Y=0,Z= – 0.6
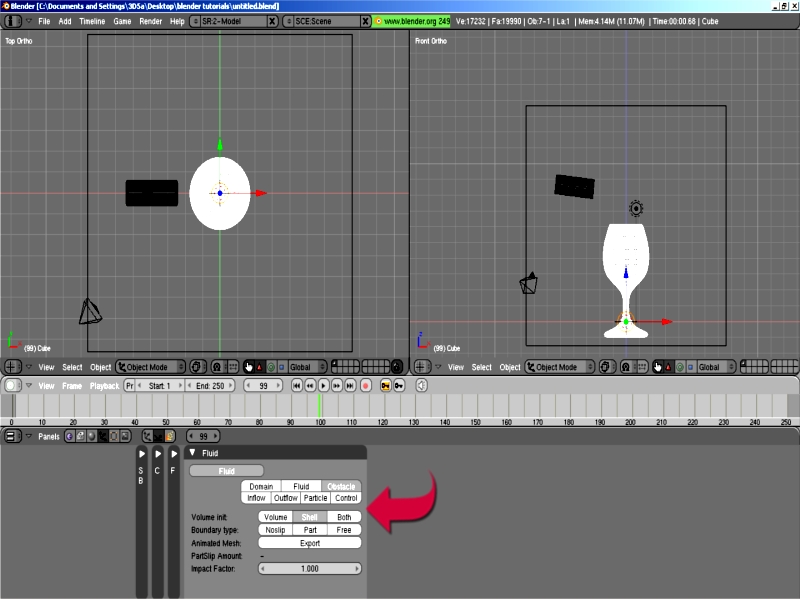
Select wine glass and set obstacle
Wine glass : Obstacle
volume int  : shell
Select Cylinder and set obstacle
Curve Cylinder   : obstacle
volume int        : both
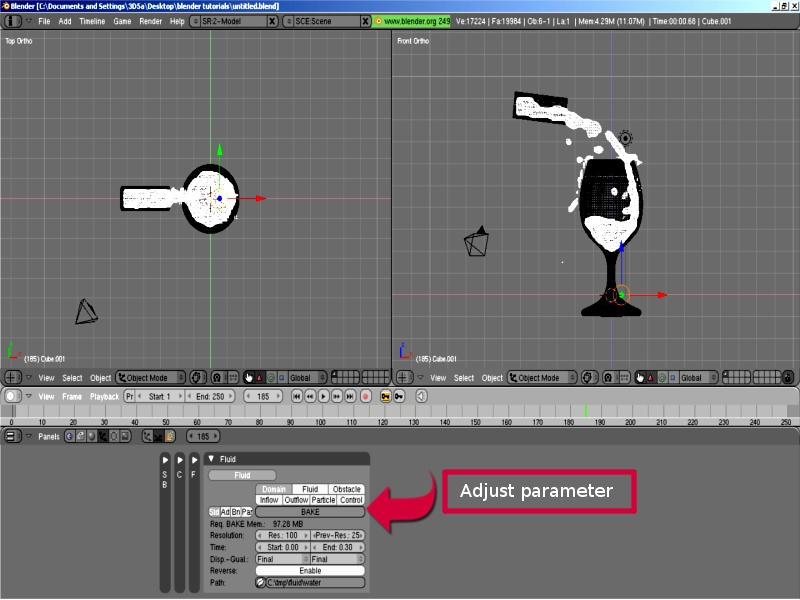
After all the objects are defined, select the cube and press the BAKE button. This will take several minutes to bake the mesh for simulation.
Cube               : Domain
std
Resolution       : Res: 100,
Time            : Start:0,End:0.30,
Disp-qual       : Final.
When the baking is over, you can play and watch the animation in real time.
Adjust Domin
Std:
Resolution       : Res:150,
Ad:
Gravity           : X:0,Y:0,Z:-20,
water
RealWrold-size    : 0.030,
Gridlevels        : -1,
Compressibility   : 0.005.
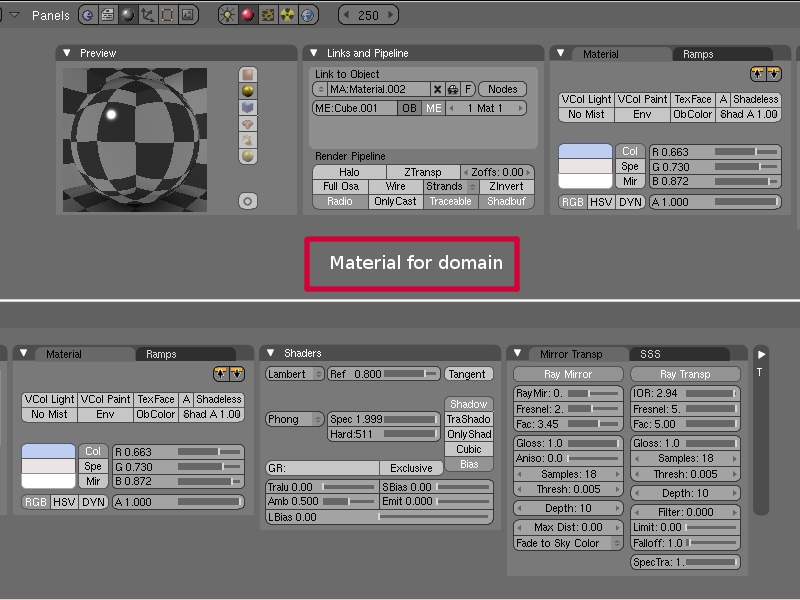
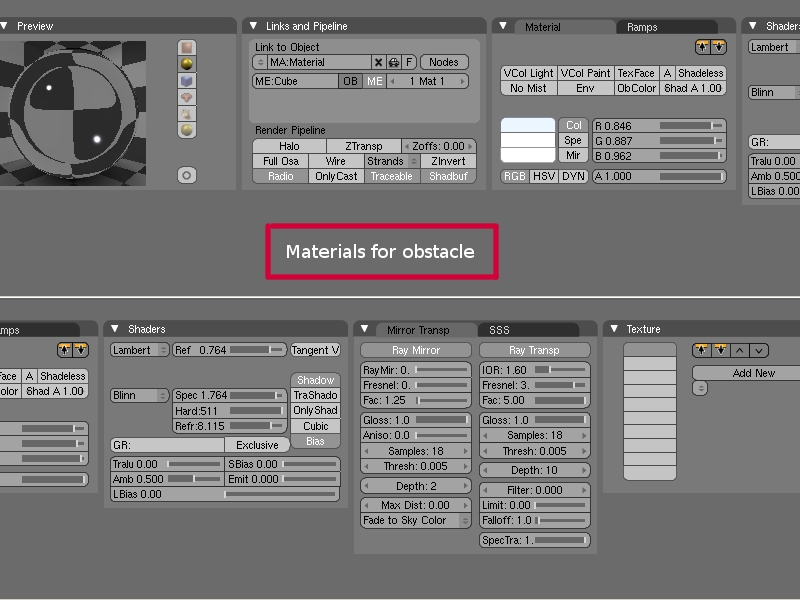
Once you obtain the desired effect, go to the material window and set the value as follow,
The material parameter for the water
The material parameter for the wine glass
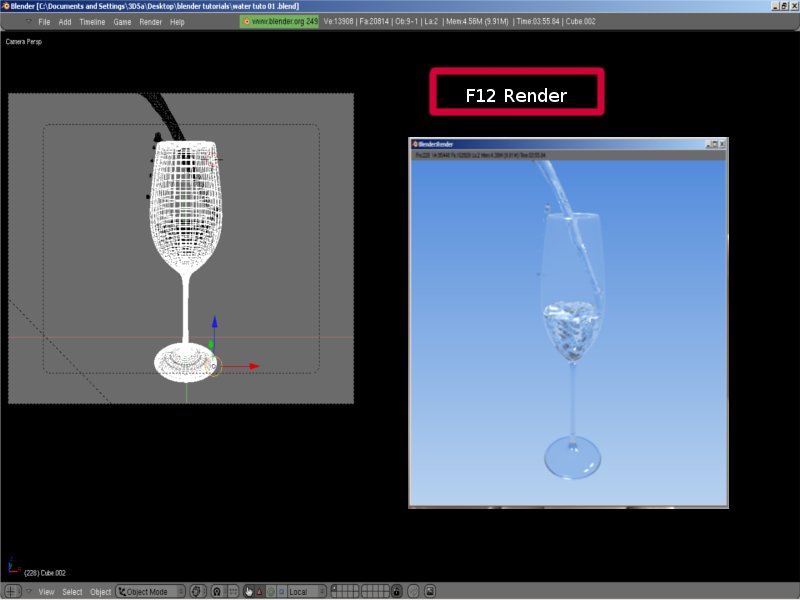
Now,set the camera angle as you desire and render.


